The Importance of Double Cleansing in the Treatment Room
What’s the secret to giving your client a killer facial that’ll leave them coming back for more?...
Double cleansing!
This is a necessity before you start off ANY facial and it’s filled with so many benefits. If you aren’t currently doing this in the treatment room - this is your sign to start!
So, what is double cleansing anyway? Double cleansing sets the tone for the facial and the baseline of any treatment. It’s a process that involves washing your client’s face with 2 products - both being cleansers of choice depending on skin type.
A lot of the time, estheticians look over this step and rush through the treatment. This step is SO important because without properly cleansing the skin, in my opinion, the rest of the treatment is not as effective.
I’m going to share the top 3 reasons why double cleansing is non-negotiable and stay tuned for the end of the blog where I’ll be sharing a little goodie with you that’ll really help take your double cleansing to the next level for clients. ;)

What are the benefits of a double cleanse?
- It actually removes buildup!
Cleansing is the most crucial step to any skincare routine, but the problem with other methods of cleansing is that it’s not actually removing ALL of the buildup on the skin.
- Soak up ALL the benefits from the skin.
The best way to make sure your client has a memorable and transformative facial is to properly prep their skin beforehand. Double cleansing is EXACTLY the way to do that. Your client’s pores will be clean and prepped to draw in all the benefits from any products used during the facial.
- It’s the skincare solution that your client’s facial routine is most likely missing.
Like I mentioned earlier, this is a step that is so often overlooked or rushed in the treatment room. Doing a double cleanse before any treatment is going to make the end result 10x better.
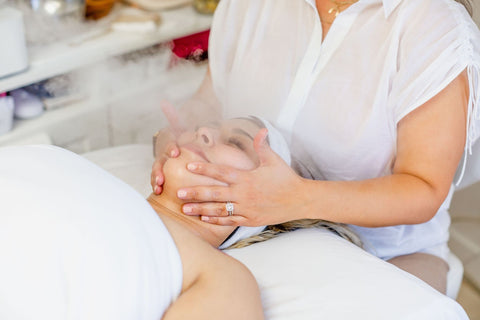
Double cleansing with the 3 Step Cleanse + Prep.
This is a technique that I created to help you make the most of a double cleanse for your clients.
Step 1: First cleanse with a cleanser of your choice. (I recommend an oil cleanser for this to effectively fight off oil and remove makeup.)
Step 2: Second cleanse using a cleanser best suited for your client’s skin type. (Don’t forget to massage and manipulate for at least 60 seconds!)
Step 3: Exfoliation time! Select enzyme, mask, or scrub, depending on your client’s skin.
A few bonus tips: Use aromatherapy and add in a hot towel massage to really elevate the treatment for your client.
Now you’re prepped and ready with the tools to give your clients a facial they’ll never forget. To get a much more in-depth look at how I implement the 3 Step Cleanse + Prep in the treatment room, you can grab the full training video and booklet I’ve put together for you here! I cover all the steps to follow when you’re actually doing the first and second cleanse, as well as the products I use.
This educational video and booklet is available for $99 (Psst, if you’re a Skin and the City member, you’ll get a juicy 50% discount for all educational videos!) Once you start practicing this 3 step process in the treatment room, let me know how it goes. I guarantee you’ll become your client’s favorite & go-to esthetician if you aren’t already.
Until next time,
xoxo
Kasey




Comments